Neobotics Foundation Inc.
These docs are public and open source.Edit on GitHub

THE REMOTE CONTROL

The car ships with a transmitter. In the Flysky box, there is the controller, its manual, a micro-USB cable, and a bracket.
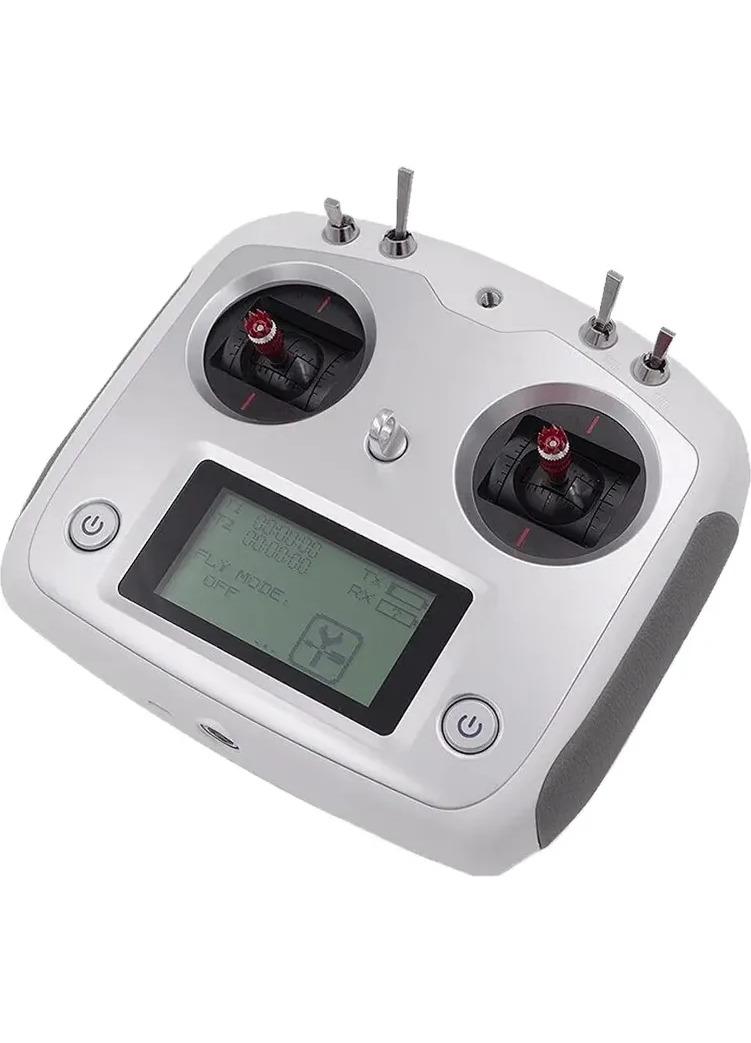
The Flysky FS-i6S transmitter

Flysky FS-i6S

A touchscreen controller used to manually drive the NeoRacer and enable autonomy. Before use, we recommend reading the Flysky manual along with this page.

Channels10
RF range2.408 - 2.475 GHz
Bandwidth500 KHz
ProtocolAFHDS 2A
Stick resolution4096
Power input4.3V - 6V
Battery4 AA batteries
Weight410g
Size179 × 81 × 161 mm

USING THE CONTROLLER

FIG. A / THE TRANSMITTER
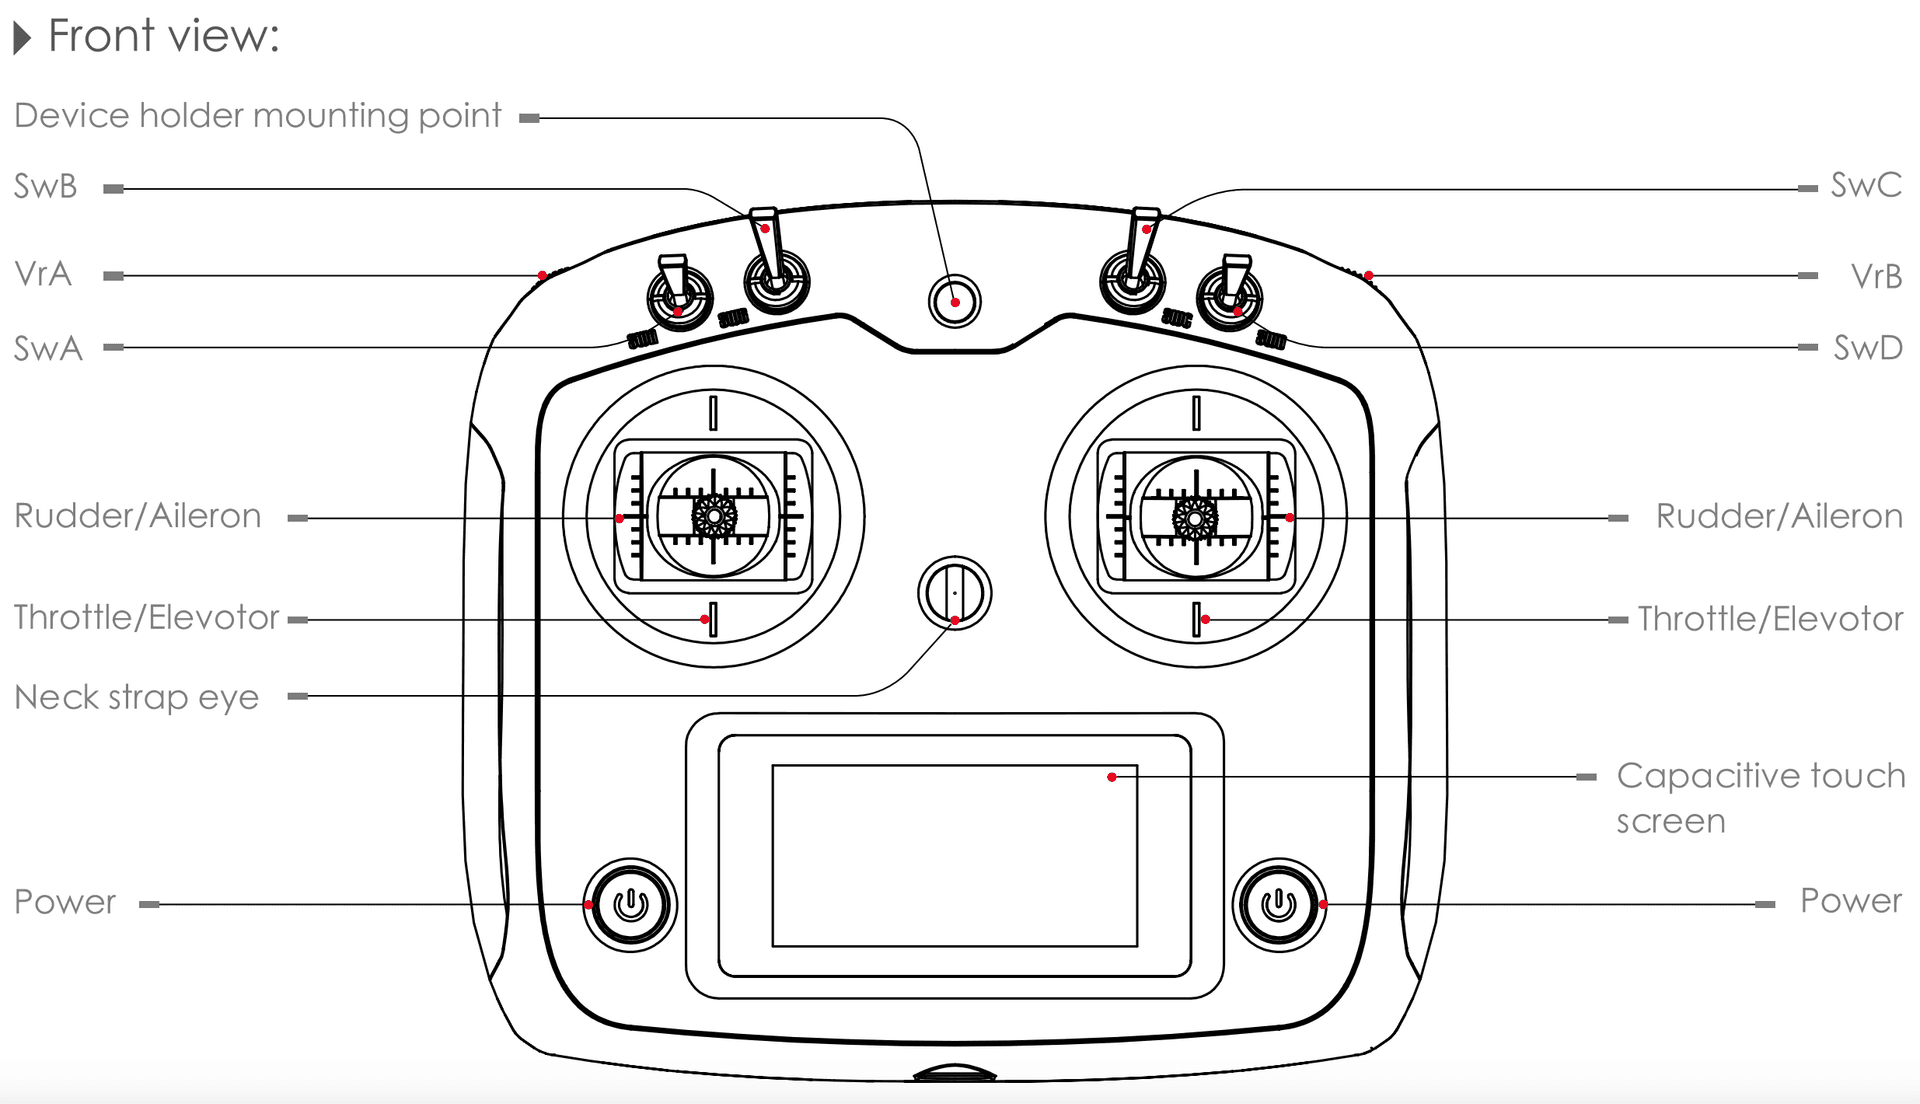
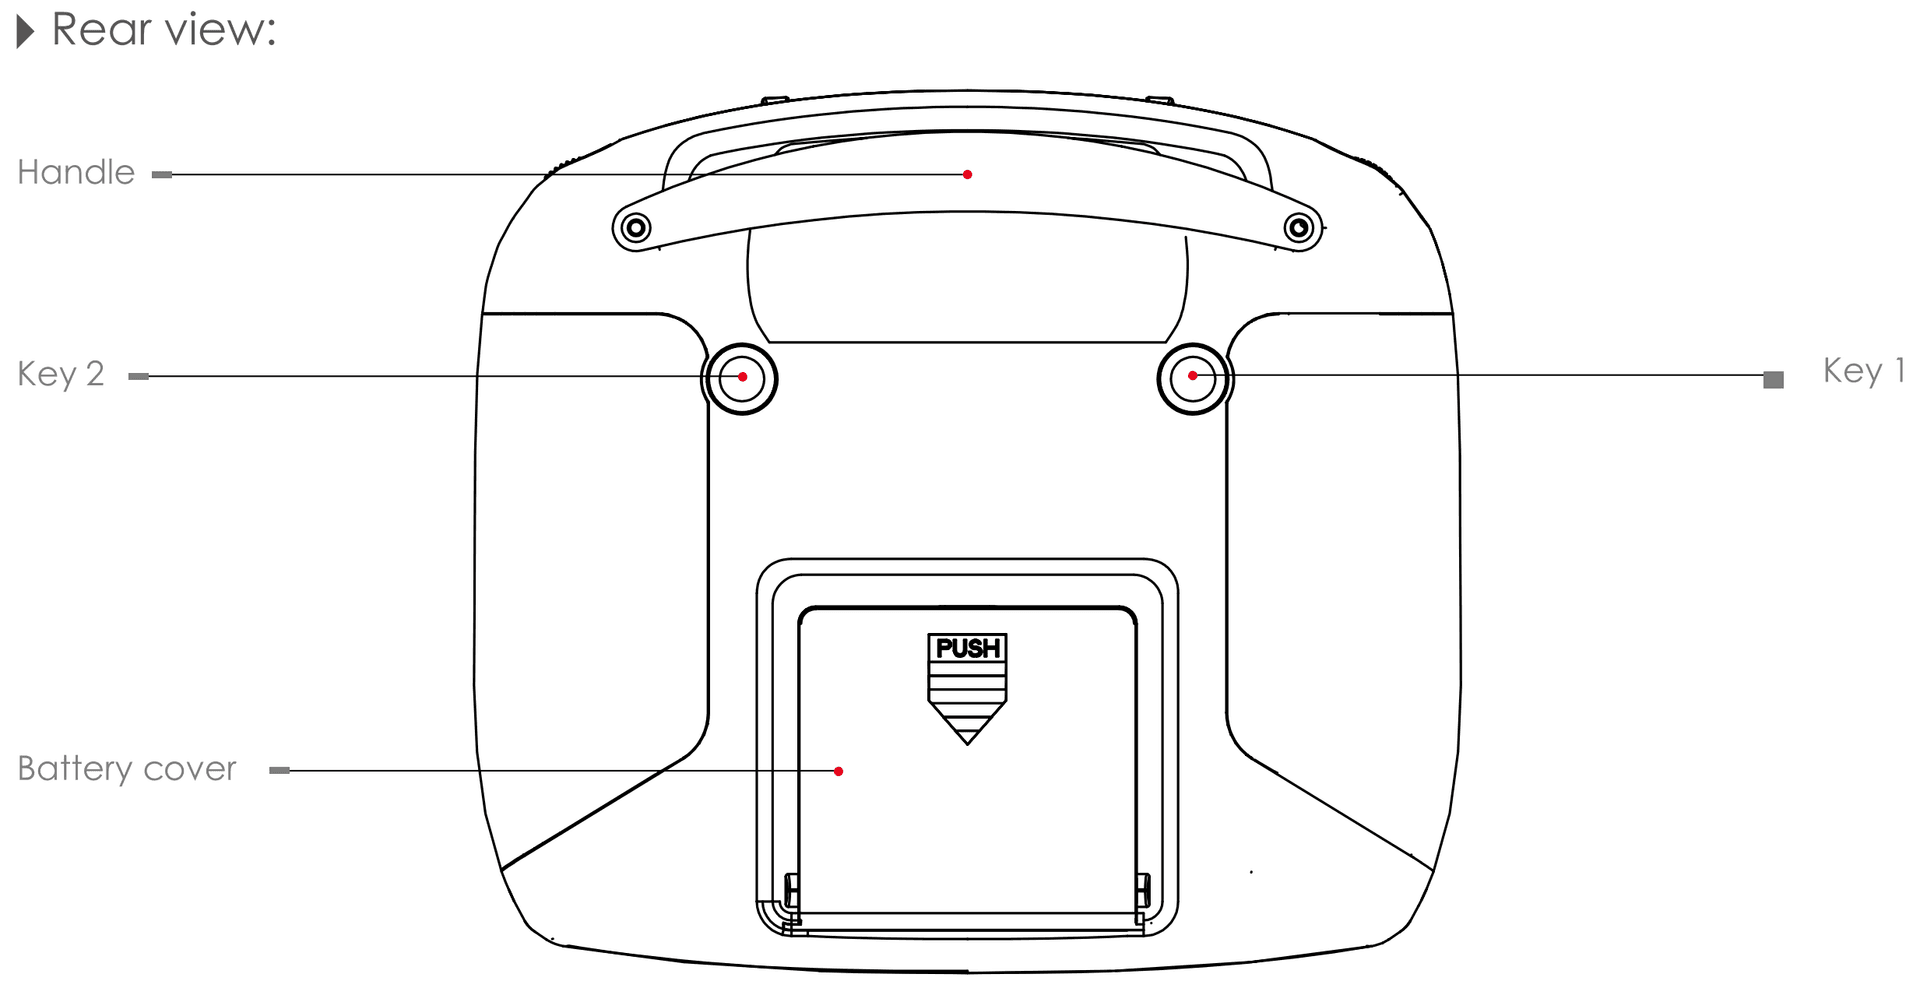
Front view of the Flysky FS-i6S with every control labelled: switches SwA to SwD, dials VrA and VrB, the two sticks, touch screen, and power buttonsRear view of the Flysky FS-i6S with the handle, Key 1, Key 2, and battery cover labelled
The FS-i6S, front and back. For more information, visit the Flysky FS-i6S product page.
  • Left stick: throttle. Push it up to drive forward. Pull it down to reverse. Let it return to the centre to stop.
  • Right stick: steering. Push it left to turn left and right to turn right.
  • SWA: manual speed. Up is slow mode, which limits the throttle to 15% of full power. Down is fast mode.
  • SWB: mode. This switch decides who drives the car.
ModeSWB positionWho drives
Manual (RC)UpYou drive the car with the sticks.
AutonomousDownYour code drives the car.
  • Power. Hold both side buttons until the transmitter beeps to turn it on or off.

CHANNEL MAPPING + S.BUS

The transmitter ships mapped for the car. However, it is good to get familiar with some settings in the Flysky's menu. If the receiver gets reset or you swap transmitters, you can remap and reset the output method for the controller.
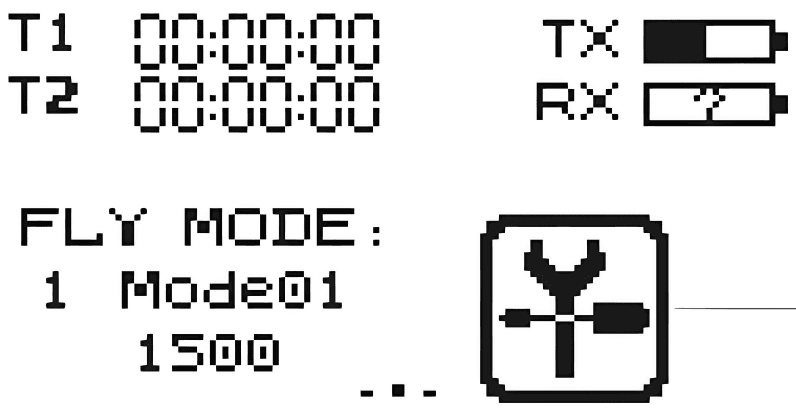
The FS-i6S home screen, showing the two timers, the fly mode, and the TX and RX battery indicators in the top right
01

The home screen

Turning the controller on brings you to the home screen. The battery level is in the top right.

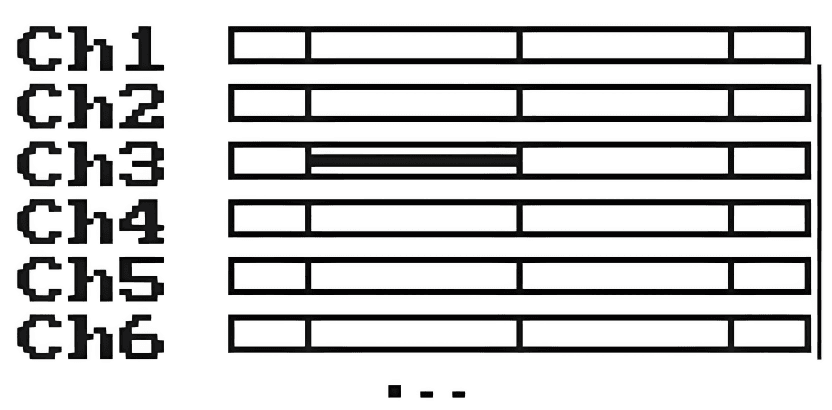
The FS-i6S channel screen, showing bars for channels 1 to 6 with channel 3 part way along its travel
02

The channels

Swipe right from the home screen to see the channels. The controller has 10 of them. Move a stick or flick a switch and the matching channel moves with it, which is the quickest way to see what is mapped where. Slide your finger up and down to scroll through the rest.

The next two screens live in the settings menu. To open it, hold the lock icon on the home screen for two seconds, then tap the tool icon.
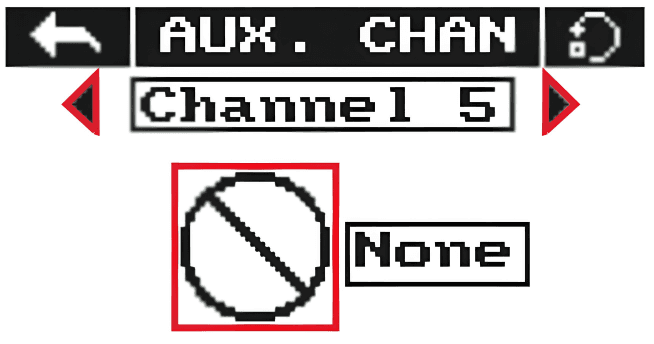
The FS-i6S Aux. channels screen, showing Channel 5 with arrows either side and its control type set to None
03

Changing the mapping

The switches are mapped to channels at the factory. To change that mapping, scroll down in the settings and tap Aux. channels. On this screen you can:

  • Select a channel with the left and right arrows on either side of the channel name.
  • Pick the type of control for that channel in the left box below the name: Nul, VRx, STx, KEY, or SWx.
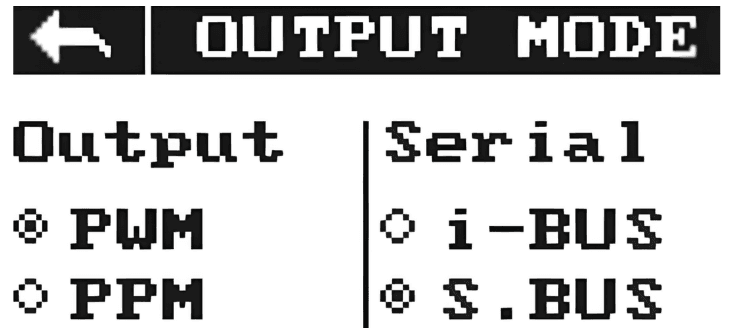
The FS-i6S output mode screen, with PWM and PPM under Output and i-BUS and S.BUS under Serial
04

Changing the output mode

The output mode is how the receiver sends the channels to the car. In the settings, tap Sys in the top right, then scroll down to Output mode.

Make sure the output is set to in the Serial column. After changing it, put the receiver in bind mode and pair it with the transmitter again, or the car will not respond.